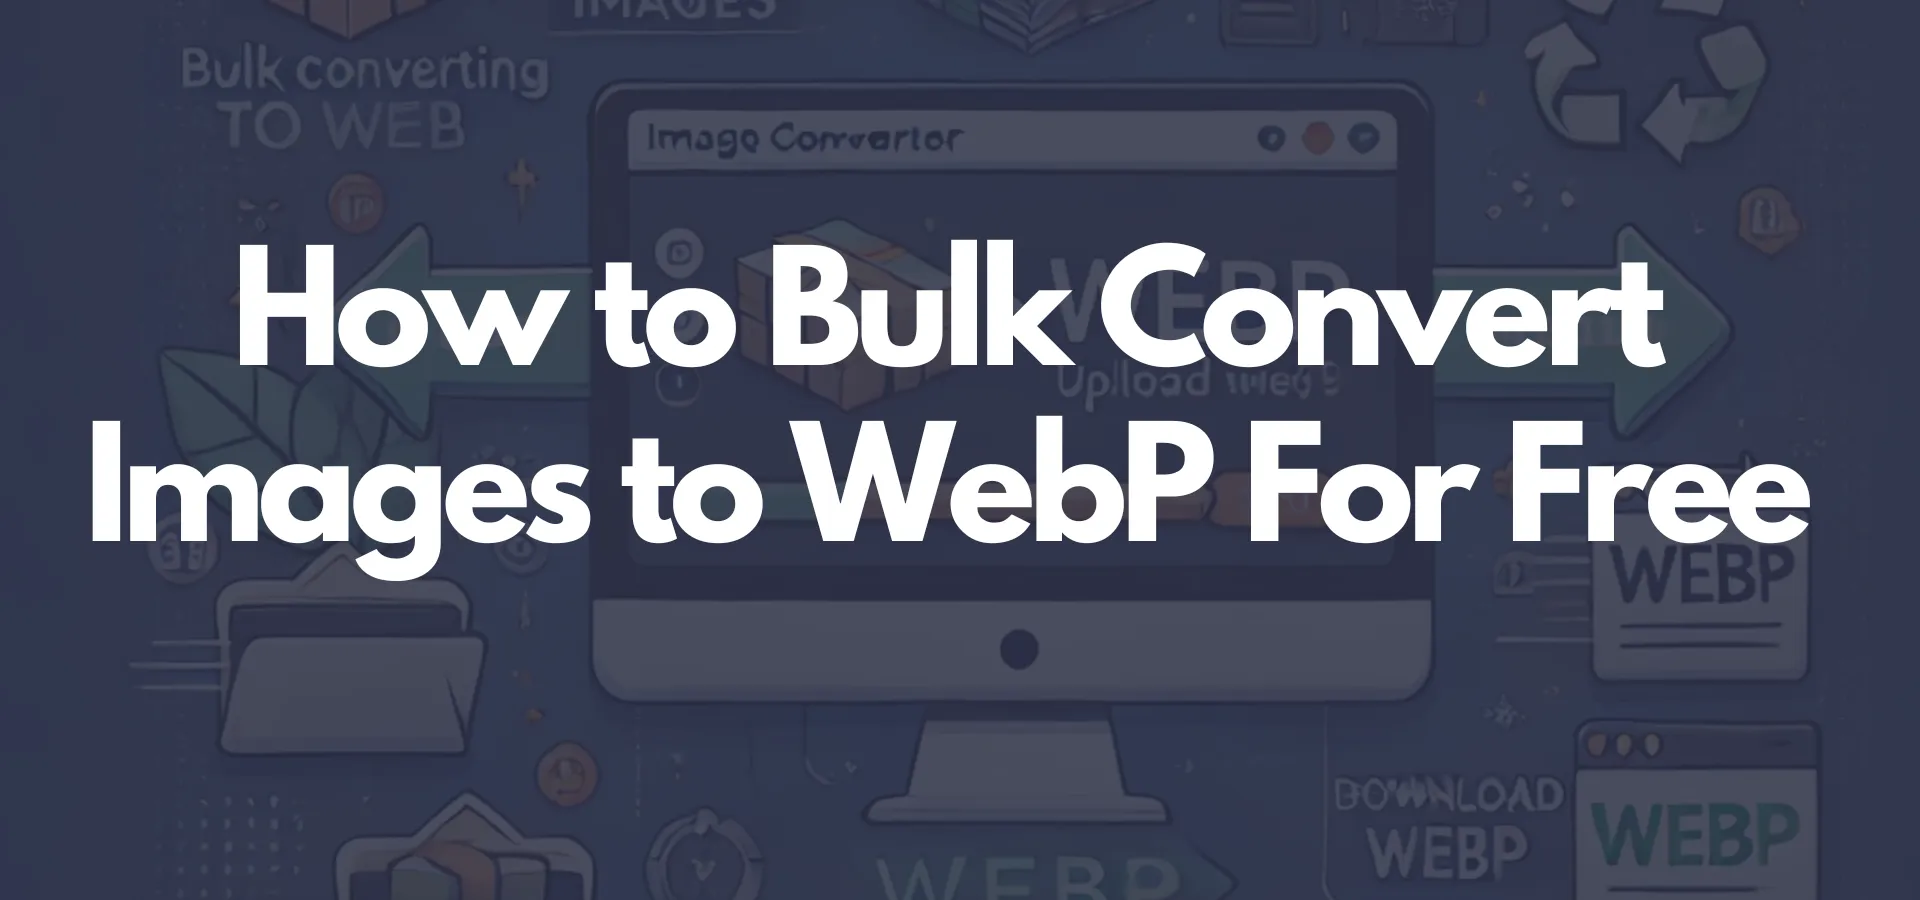
How to Bulk Convert Images to WebP: A Step-by-Step Guide Using Coding India Lab’s Free Tool
Over time, the need for image optimization has become important in online settings, which ensures perfect sites while fast loading times are maintained. WebP is among the most practical image formats to be introduced new image format that is developed by Google- provides several very effective techniques in compression allowing for small-size files, and excellent picture qualities.
Web developers, designers, or content management fellows spend a lot of time and energy converting a handful of images into WebP formats. In such a situation, Coding India Lab comes up with a brilliant free Bulk WEBP Converter tool to convert all those images into WebP format and take the pain out of the process. This guide will walk you through all the procedures starting from converting bulk images into WebP format using the said tool.
Understanding WebP Format
Before getting into the details of the conversion, let’s first understand what’s so appealing about WebP as a format.
Benefits of WebP
- Smaller File Sizes: WebP compression is better for both lossless and lossy images. There’s a corresponding difference in the percentage reduction in file size when compared to JPEG, PNG, and GIF formats: typically, a WebP file will be 25-34% smaller than an equivalent quality JPEG, PNG, or GIF.
- High-Quality: It keeps the image quality well despite being smaller, which is especially great for sites with an eye on speed as well as looks.
- Transparency Support: Like PNG, WebP has alpha-channel transparency support; it can be used for logos and icons.
With all these optimistic factors in favor of WebP, it has become the format of choice for web images that need rapid delivery to users for maximum efficiency in user experience and SEO rankings.
Why Bulk Conversion?
If you operate a website or an online business, it is guaranteed that you probably have hundreds or thousands of images. The time taken to convert a single image to WebP format by manually converting them can be time-consuming. Moreover, a lot of time and effort could be saved if bulk conversion was used, as it now allows you to convert many images simultaneously. Additionally, this can be a consistent way to optimize all your online image assets for your website’s performance.
Why Use Coding India Lab’s Free Tool for Bulk Conversion?
The major factor that makes the Coding India Lab free tool worth using for bulk conversions is that this has the following advantages over others in online service and download applications for converting images into WebP:
- Completely Free: The Coding India Lab tool allows unlimited free bulk conversions while several others offer a limited number of free conversions.
- No Software Installation: It’s a web-based tool, so there’s no need to install anything on your computer.
- Easy to Use: The interface is very easy and user-friendly, which makes it possible for beginners and experienced users alike to use the application efficiently.
- Fast Processing: The tool is surely meant for processing bulk conversions in minutes without changing the quality of the images.
This is the process in which we will walk through how you can consolidate many images for conversion into WebP format using the Coding India Lab free tool.
A Step-by-Step Guide to Bulk Convert Images to WebP Using Coding India Lab’s Free Tool
Step 1: Visit Coding India Lab’s WebP Conversion Tool
Now open the Coding India Lab Image to WebP conversion tool using a web browser. It is easily found by searching “Bulk Image to WebP converter Coding India Lab” on any search engine. Alternatively, go to their official website and find the tool listed under their free online tools section.
Step 2: Upload Your Images
Conclusively, upload the images to be converted once you are on the tool’s page.
- Click on the “Upload Images” Button: This opens a file dialog, enabling you to pick as many images from your local storage as you want.
- Select Multiple Files: Hold down the Ctrl (or Cmd on Mac) key to select multiple images at once, or select a whole folder of images, depending on your operating system.
- Drag and Drop: You can also just drag and drop the images directly from your file explorer into the tool’s interface. Doing so makes the process that much faster.
The tool accepts various image formats including JPG, PNG, GIF, BMP, TIFF, and many more, allowing one to work on converting different types of images at the same time.
Step 3: Choose Your Settings
Once you upload your images, then Coding India Lab allows you to define several options for the conversion to WebP.
- Quality Settings(Width/Height): You can also make adjustments in output quality through an advanced configuration setting in WebP.
- Resize Option: In case the images need to be resized before conversion, the tool enables the setting of new dimensions; width, and height; useful for further optimizing web image sizes.
- Lossless or Lossy Compression: According to needs, you can opt for either a lossless or lossy WebP compression standard. Lossy compression is meant to reduce file size but degrades quality in the process to some extent while lossless maintains the quality of the original but compresses it less.
Step 4: Start the Conversion Process
After selecting your images and configuring all the settings, you will need to press the button “Convert to WebP” to start the converting process in bulk. The tool will begin processing the images one at a time.
- Processing Speed: The conversion may take time depending on the number and size of images to be converted. However, the speed of this tool is so high that even one or two hundred images could be converted in minutes (s).
- Progress Bar: During conversion, you will see a progress bar showing the status of conversion which lets you know how far the process has progressed.
Step 5: Download WebP Files After Conversion
The Download All option below lets you download the complete batch of converted images into a ZIP so there is no need to download each image one by one.
- Click on “Download All”: A zipped file containing all the converted WebP images will be downloaded.
- Extract the ZIP folder: After downloading, the files contained in the ZIP folder will be extracted for accessing your images.
Step 6: Upload the WebP Images onto the Website
Uploading WebP images to your website after conversion and download is an easy task.
- File Maintenance: Organize WebP images in the appropriate folders on your website.
- Updating Image References: Update the HTML or CSS files of your website with the image path for WebP images.
Ensure Browser Compatibility: Because very few browsers do support WebP encoding, make sure to allow for fallback images (those in JPEG or PNG formats) for those browsers that do not support WebP. You can achieve this with the <picture> tag in HTML.
Step 7: Test and Optimize Further
After implementing your WebP images, make sure you test your website for performance and visual fidelity. Use Google PageSpeed Insights or GTmetrix to evaluate how the newly acquired images affect your website’s speed.
If needed, you can always visit the Coding India Lab tool again to adjust the image quality or further resize them for optimization.
Conclusion
The bulk conversion of images into WebP may considerably enhance your website’s performance and user experience. With the Coding India Lab free tool, the mass conversion of images into the WebP format can conveniently occur without any complex software or human drudgery.
This step-by-step guide has shown how easily images can be uploaded, customized, converted, and downloaded in bulk. The faster loading speed of WebP gives more credit to search engines, requires less bandwidth, and is overall very good for boosting user engagement and satisfaction.
If you have not yet tried Coding India Lab’s free WebP conversion tool, give it a shot and optimize those images for the web!